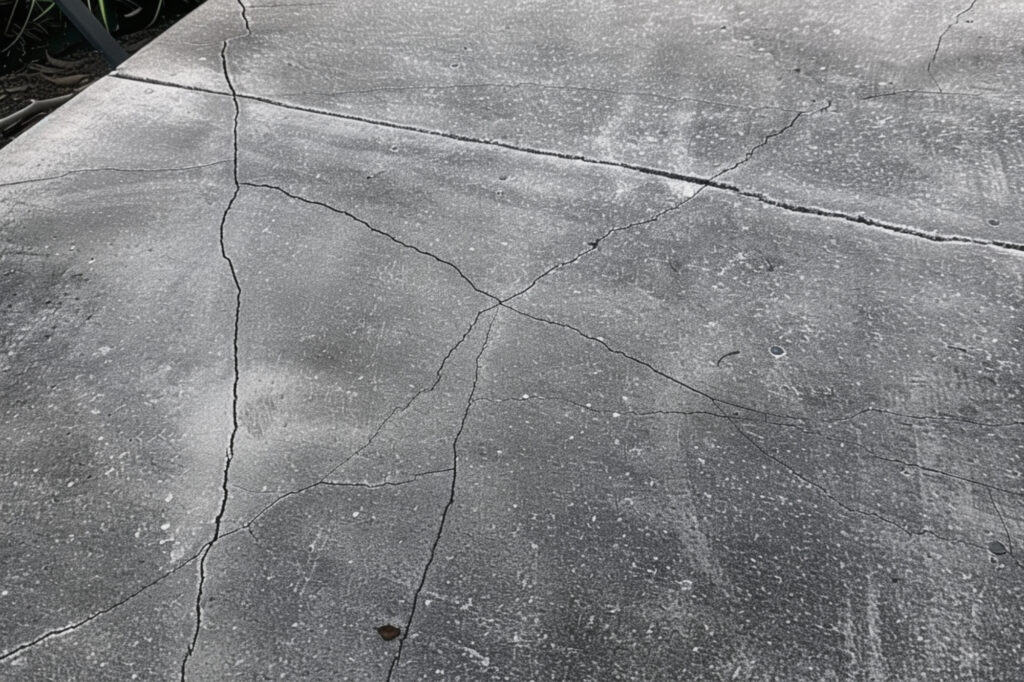
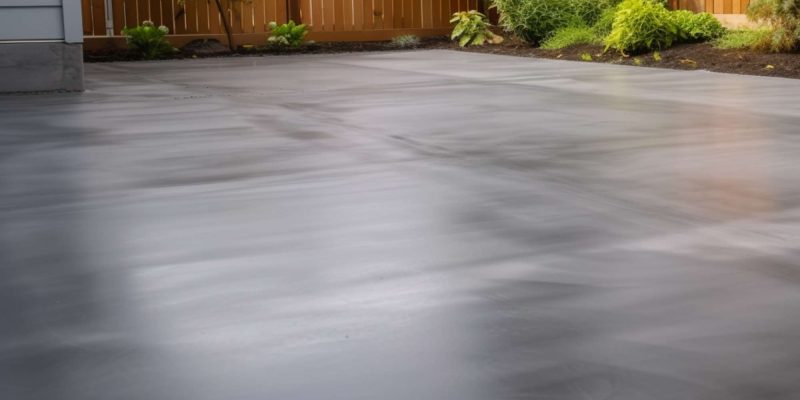
A well-kept concrete patio not only boosts your home’s charm but also serves as a perfect spot for family gatherings and barbecue nights. Just like any part of your home, your patio needs a little love and care to stay strong and look its best. Let’s dive into how you can keep your patio in tip-top shape, tackling common damages and ensuring it remains a place of joy for years to come.
Common Causes of Concrete Patio Damage
Weather and Environmental Factors
In Texas, our patios brave scorching sun, heavy rains, and sometimes even frost. These extremes can cause your patio to crack, fade, and wear down over time. Water, especially, is a sneaky enemy—it seeps into tiny cracks, freezes, and makes those cracks bigger.
Physical Wear and Tear
Your patio is the stage for lots of activities. Kids play, pets run around, and we move furniture back and forth. All this action puts pressure on the concrete, leading to scratches, chips, and cracks.
Improper Installation
A patio that wasn’t put in right is like a house built on sand—it won’t stand up well to what life throws at it. If the mix wasn’t right or it was laid too thin, you’ll see problems like uneven surfaces and cracks much sooner.
Tree Roots and Soil Movement
Trees are great for shade but not so great for your patio if they’re too close. Their roots grow under the concrete, pushing it up and causing cracks. Also, the ground shifts naturally over time, which can make your patio unlevel.
Assessing Patio Damage
Visual Inspection
Take a walk around your patio and look closely. Do you see any cracks or areas where the concrete is uneven? Are there spots where the color looks different? These signs tell you where you need to focus your repair efforts.
Severity Assessment
Not all damage is a big deal. Small cracks might be easy to fix on your own, but if you see large gaps or the surface is really uneven, it might be time to call in a pro. Think about how the damage affects your patio’s look and use to decide how quickly you need to act.
DIY Repair Techniques for Common Damages

Repairing Cracks
Materials Needed: To effectively repair cracks in your concrete patio, you’ll need a few essential supplies. Apart from concrete patch compound, a putty knife, and protective gloves, consider getting a wire brush to thoroughly clean the crack, and a sealer to apply after the repair. For wider cracks, backer rod (a foam rope) will be necessary to fill in the gap before applying the patch compound.
Step-by-Step Guide
- Prepare the Crack: Use the wire brush to vigorously clean inside the crack, removing all dirt, debris, and loose concrete. This ensures the patching material adheres properly.
- Wet the Area: Lightly spray or sprinkle water around the crack. The dampness helps the patching compound to bond with the old concrete.
- Apply Patch Compound: If the crack is wider than ¼ inch, press a backer rod into the crack to provide a base for the patch compound. Then, using the putty knife, fill the crack with the concrete patch compound. Press firmly to ensure the compound fills the entire depth of the crack.
- Smooth and Level: Use the flat edge of your putty knife to smooth the patch compound, ensuring it’s level with the surrounding concrete surface.
- Let It Dry: Follow the drying instructions on the patch compound label carefully. Avoid walking on or wetting the repaired area until it has fully cured.
- Seal the Repair: Once dry, apply a concrete sealer over the repaired crack to protect it from water penetration and future damage.
Fixing Uneven Surfaces
For Small Adjustments: Concrete topper or self-leveling compounds are perfect for addressing minor unevenness. These materials are designed to flow easily and fill in low spots, creating a smooth, level surface.
- Clean the Surface: Ensure the area is clean and free of any loose material, dirt, or debris.
- Mix the Compound: Follow the manufacturer’s instructions to mix the concrete topper or self-leveling compound.
- Apply: Pour the mixed material over the uneven areas, using a trowel to spread it out if necessary. The material should naturally level itself, but guiding it into place helps ensure full coverage.
- Cure: Allow the compound to cure as specified by the product instructions before using the patio.
For Larger Issues: Significant unevenness might indicate underlying problems that require professional assessment. In such cases, the entire slab may need to be lifted or replaced.
Addressing Discoloration and Stains
For Common Stains: A simple cleaning solution made from water, dish soap, and a small amount of bleach is effective for most light to moderate stains. Wear gloves to protect your hands and use a stiff-bristle brush to work the solution into the stain. Rinse thoroughly with water afterward.
For Tough Stains: For more stubborn stains, such as oil or grease, a concrete cleaner designed for those specific types of stains may be necessary. These cleaners often require being left on the stain for a period before scrubbing and rinsing.
- Test First: Always test the cleaner on a small, inconspicuous area of your patio to ensure it won’t discolor the concrete.
- Apply Cleaner: Follow the cleaner’s instructions, usually involving applying it to the stain, letting it sit, and then scrubbing.
- Rinse Well: After scrubbing, rinse the area completely with clean water to remove any residue from the cleaner.
Professional Solutions for Major Repairs
When to Call a Professional
Sometimes, the damage to your patio goes beyond what a quick fix can handle. If you see deep, wide cracks, areas that have sunk significantly, or if the surface is very uneven, it’s time to get an expert involved. These issues often require tools and skills that go beyond the average DIY project.
Expected Services
A professional can offer a range of services to get your patio back in shape. They might suggest resurfacing the entire patio to make it look brand new, or they could perform slabjacking, which lifts sunken concrete back to its original position. They can also fix major cracks and ensure the patio drains water properly to avoid future problems.
Choosing a Contractor
Finding the right person for the job is crucial. Look for a contractor with good reviews and plenty of experience with patio installation and repairs. It’s also important they are licensed and insured—this protects you if something goes wrong. Don’t be shy to ask for before-and-after photos of their work or for references from past clients.
Preventative Measures to Avoid Future Damages
Sealing and Waterproofing
One of the best things you can do for your patio is to seal it every few years. Sealing helps protect against water damage, stains, and fading from the sun. Choose a sealant that’s right for your patio’s type of concrete and the weather conditions in Waco.
Proper Maintenance Practices
Keep your patio clean by sweeping regularly and washing it down with a hose now and then. If you spill something, clean it up as soon as you can to prevent stains. Inspect your patio regularly for any new cracks or damage, especially after extreme weather.
Landscaping Considerations
To prevent damage from roots and soil movement, think carefully about where you plant trees and shrubs. Keep them a safe distance from your patio. Also, make sure your patio has good drainage. If water tends to pool on or around it, consider adding drains or adjusting the slope of your yard to direct water away from the patio.
Conclusion
Taking care of your concrete patio doesn’t have to be hard. With a little bit of effort, you can fix common problems yourself and keep your patio looking great. Remember, if the damage is too big to handle on your own, calling a professional is the best way to ensure your patio gets the care it needs. By following these tips and keeping up with regular maintenance, your patio will be a beautiful part of your home for years to come.

